Carve a PC pumpkin
Carve a PC pumpkin
Follow this tutorial to carve your very own PC pumpkin.
Materials
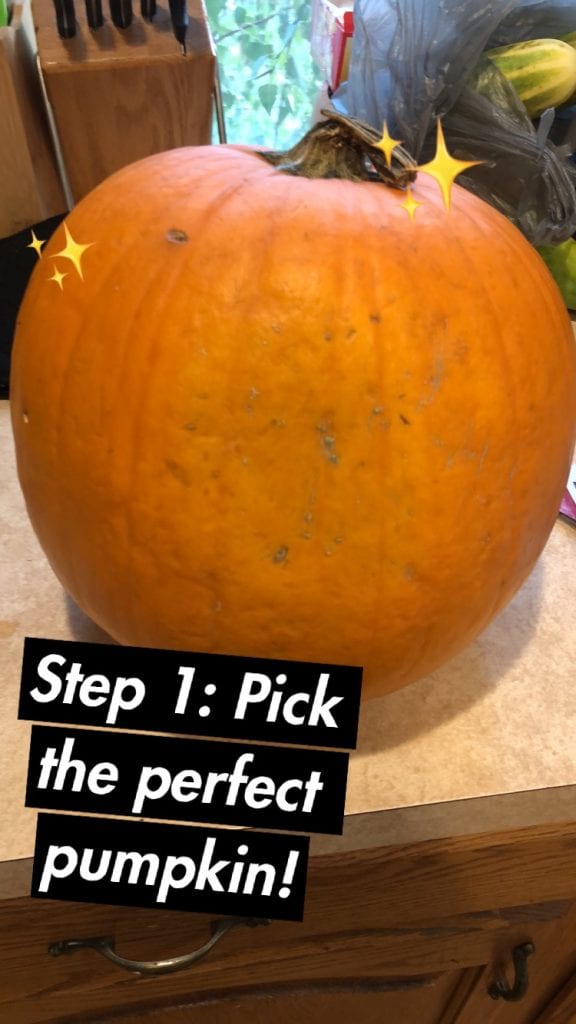
- Pumpkin
- Sharp knife
- Thumbtack or dull pencil
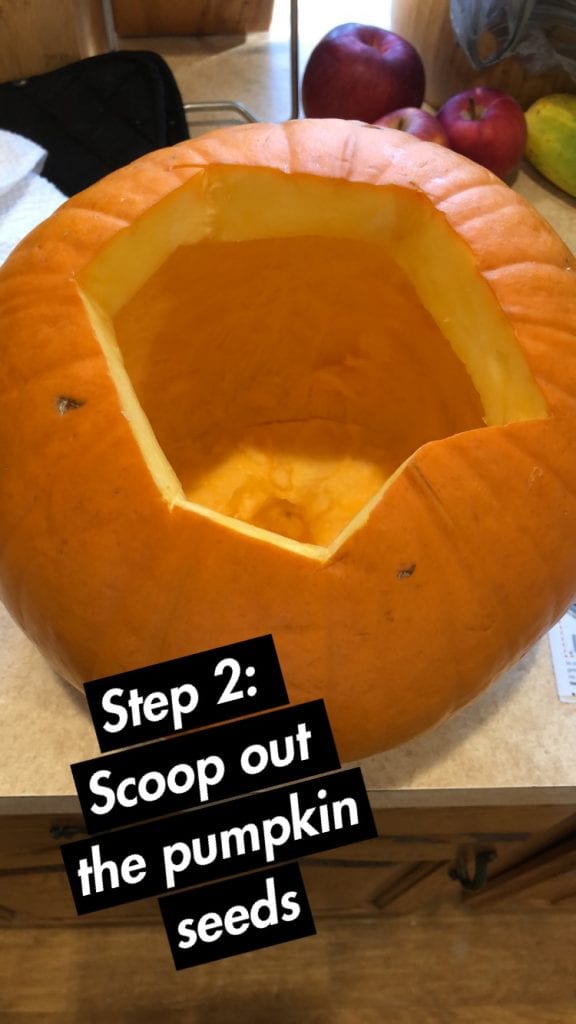
- Spoon
- Marker
- Stencils
Stensils
Intermediate
Advanced
How to carve a pumpkin using a stencil:
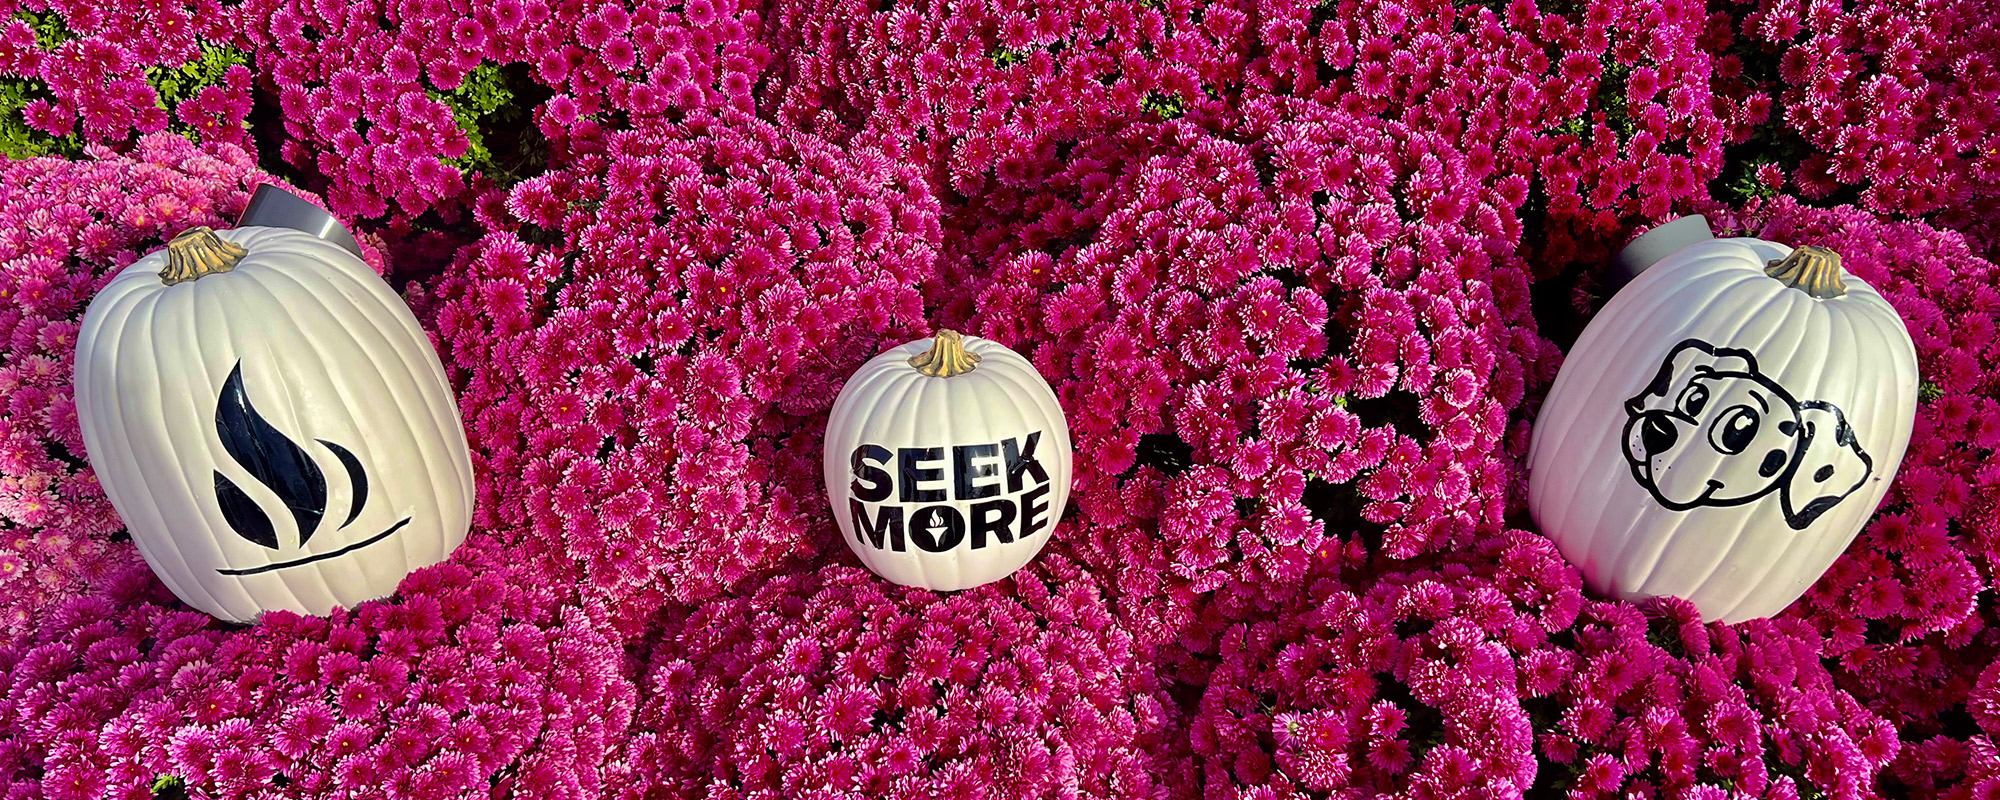
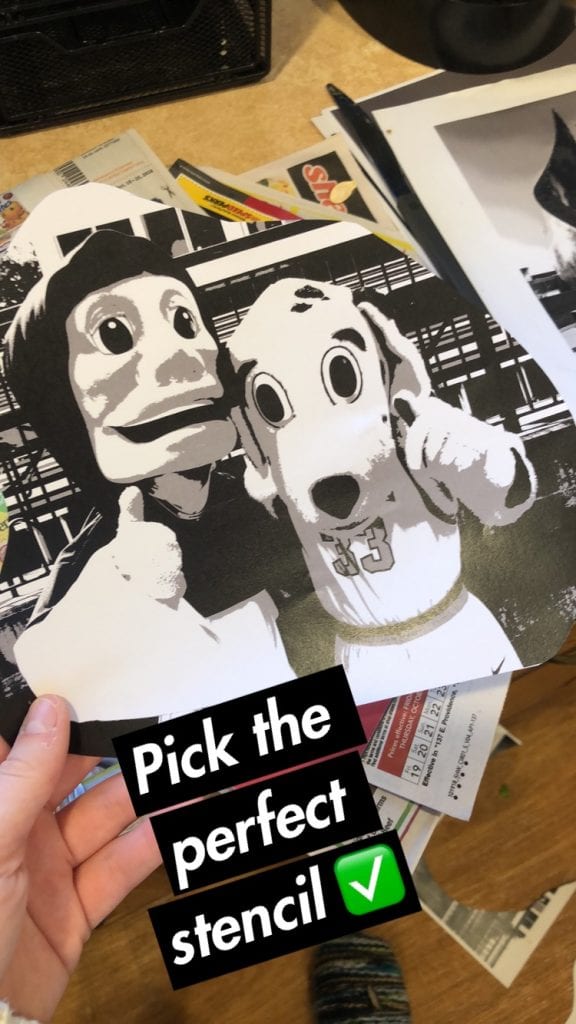
- Pick your favorite PC picture or shape.
- Print out image to the desired size to match your pumpkin and cut out stencil about an inch from the stencil’s outline.
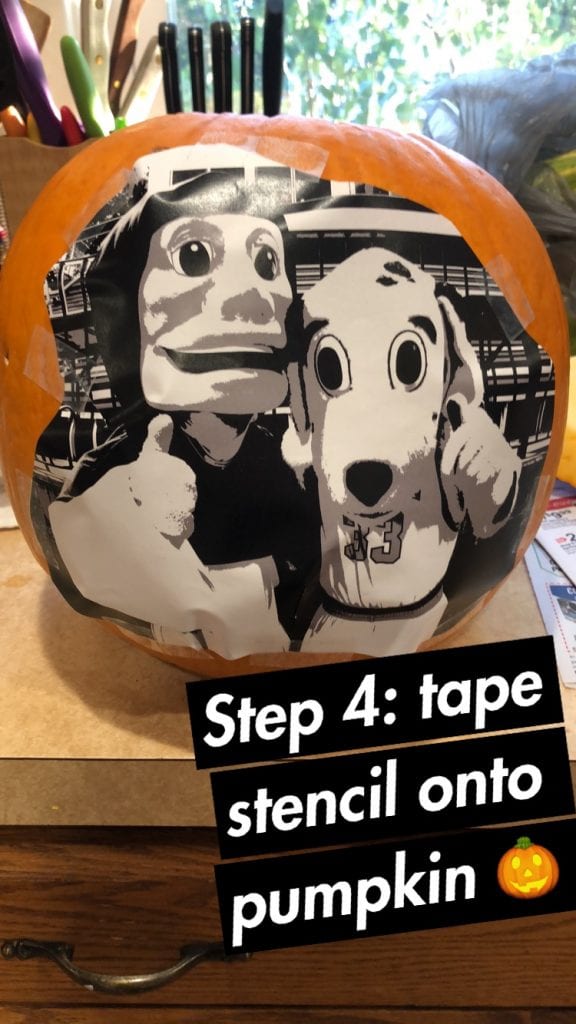
- Tape stencil onto pumpkin.
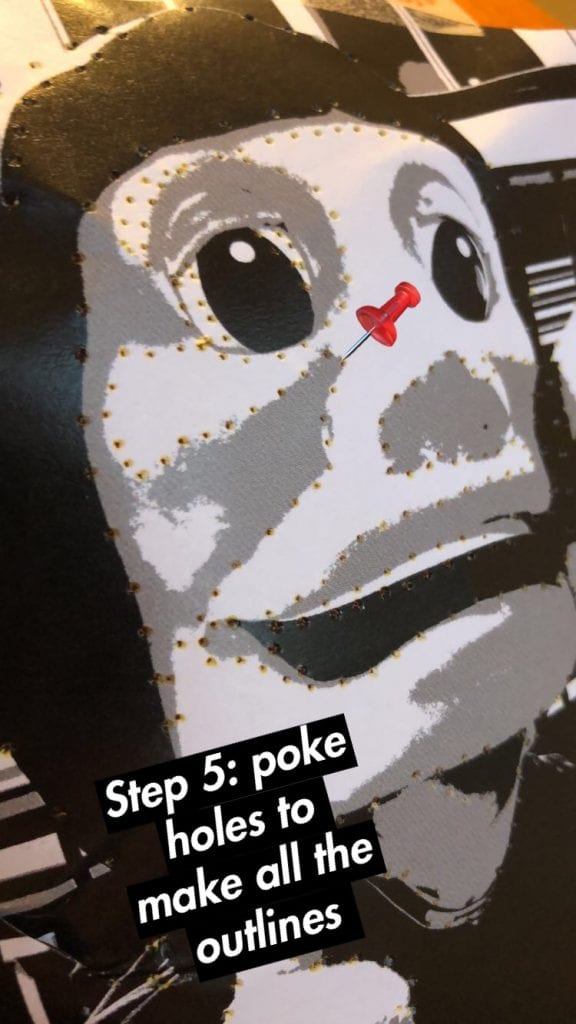
- Trace stencil with a dull pencil or poke through paper with a thumbtack to transfer image. Make sure to trace shadow lines and inside shapes onto pumpkin as well.
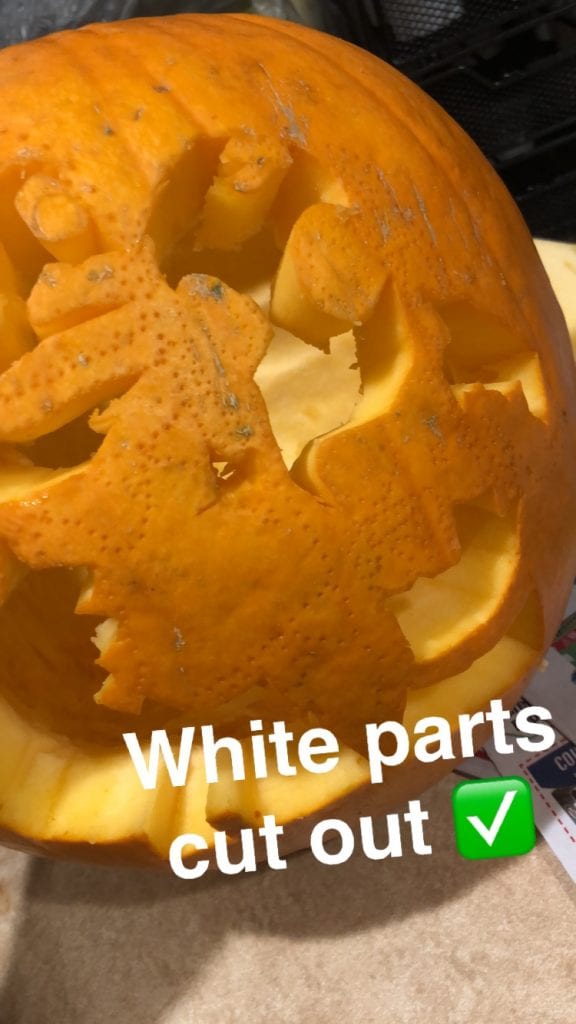
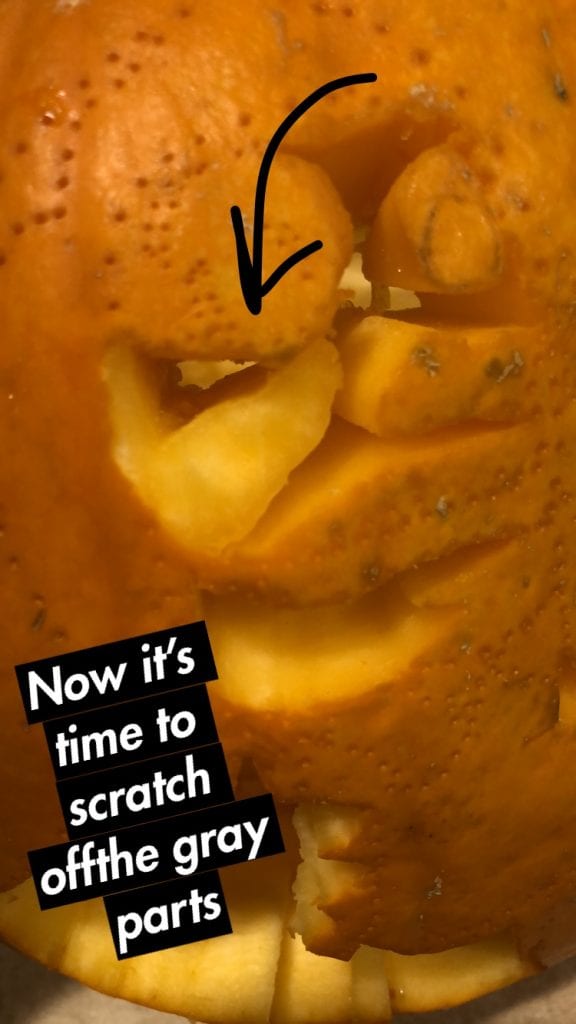
- Remove stencil and mark which areas should be cut out (white), scratched (gray), or left alone (black).
- Now, you’re ready to carve your PC pumpkin!
Don’t forget to share your masterpiece with @provcollege on TikTok or #PCpumpkin on Instagram!

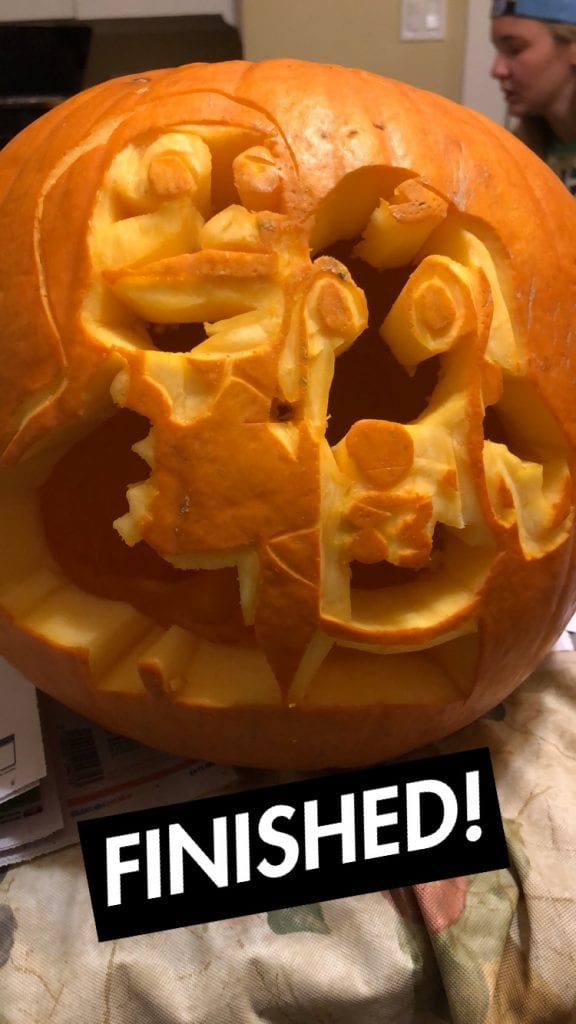
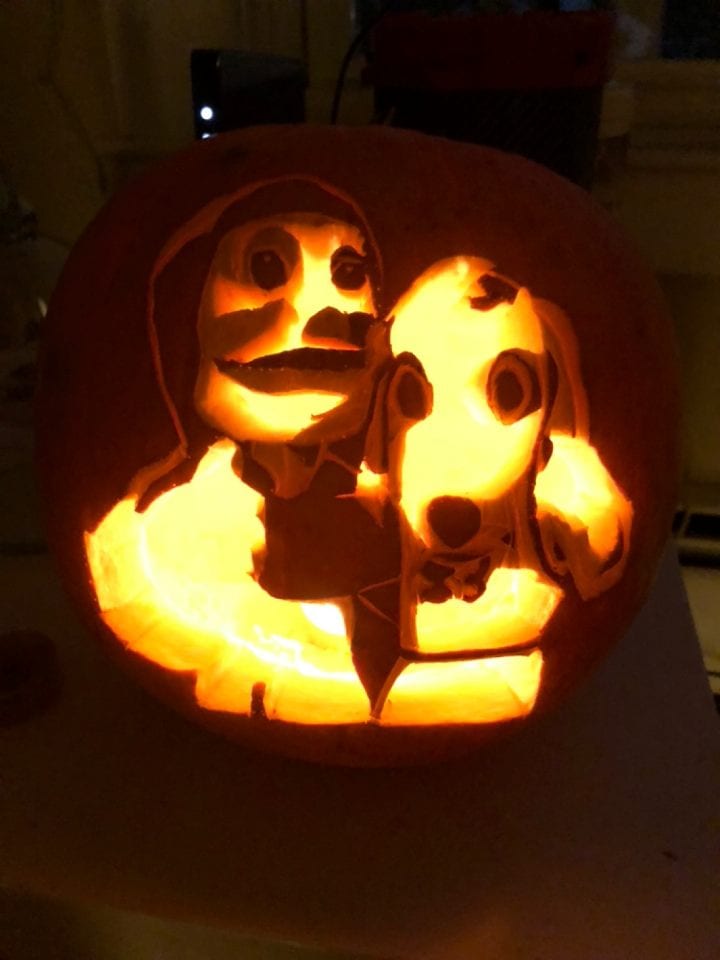
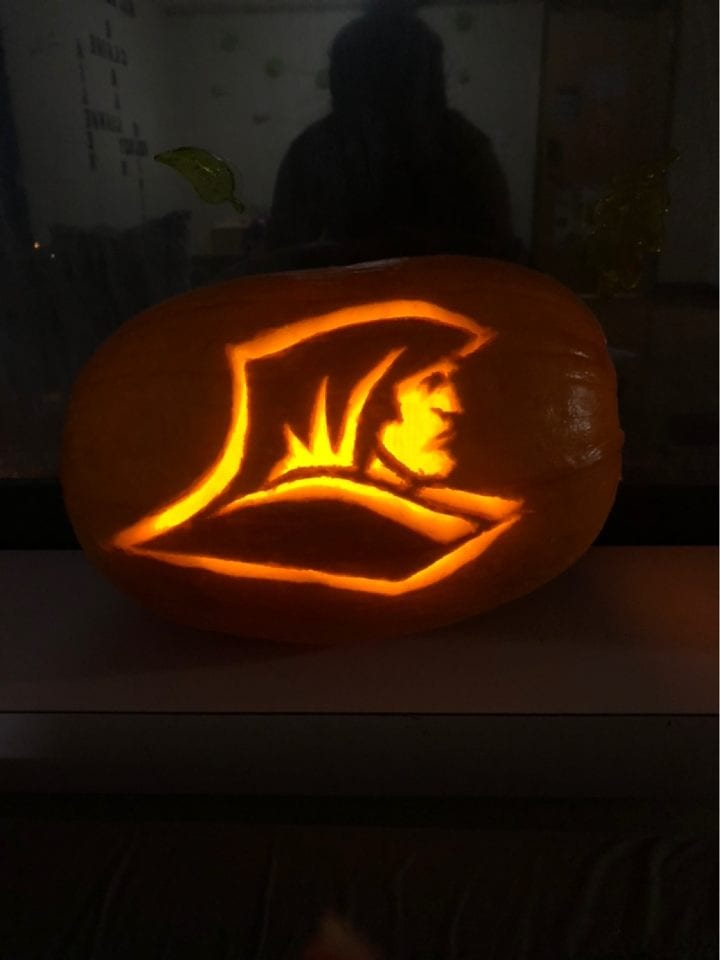
Finished Versions